How to Organize a Small Kitchen With Limited Cabinets
cooking in a small kitchen with limited cabinets often feels like a daily game of Tetris. You pull out a cutting board, and suddenly you have to move the coffee maker, the toaster, and a stack of mail just to chop an onion.
But here is the secret: maximizing a tiny kitchen isn’t about magically creating more square footage. It’s about mastering workflow, verticality, and ruthless prioritization.
You don’t need a contractor, a massive budget, or custom-built cabinetry to fix this. You just need a system that makes your kitchen work for you. Here is your practical, no-stress guide to reclaiming your space.
1: The Great Kitchen Purge (Before You Buy a Single Bin)
The biggest mistake people make is buying organizers before they know what they actually own. You cannot neatly arrange your way out of having too much stuff.
1. The “Blank Slate” Method
Take everything out of your cabinets, drawers, and pantry. Yes, everything. Lay it out on your dining table or floor. It will look overwhelming for a minute, but this is the only way to see exactly what you have and identify duplicates (do you really need four garlic presses?).
2. The Ruthless Sort
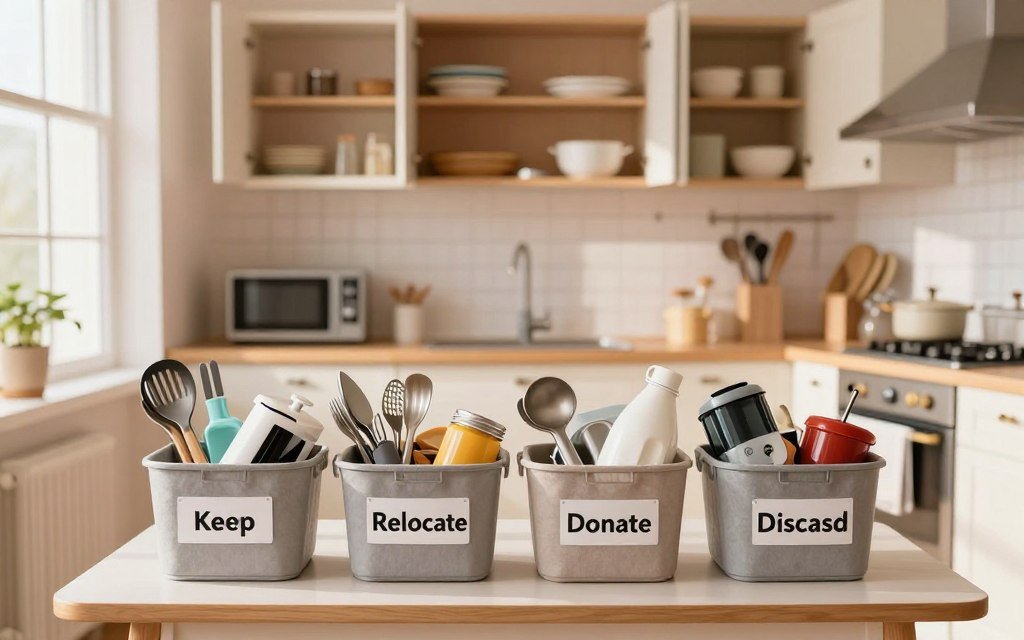
Grab four boxes and sort every single item into:
- Keep: Daily essentials you actually use and love.
- Relocate: Items that don’t belong in the kitchen (scissors, mail, random chargers). Put them in a box and move them to their proper room.
- Donate/Sell: Good-condition items you haven’t touched in a year.
- Toss: Expired spices, cracked Tupperware with missing lids, and dull, irreparable knives.
3. Measure Twice, Buy Once
Now you can shop for organizers. But don’t guess. Measure the exact width, depth, and height of your cabinets, and the clearance between your shelves. Buying a bin that is half an inch too wide is a special kind of frustration.
2: Strategic Zoning (The Workflow Fix)
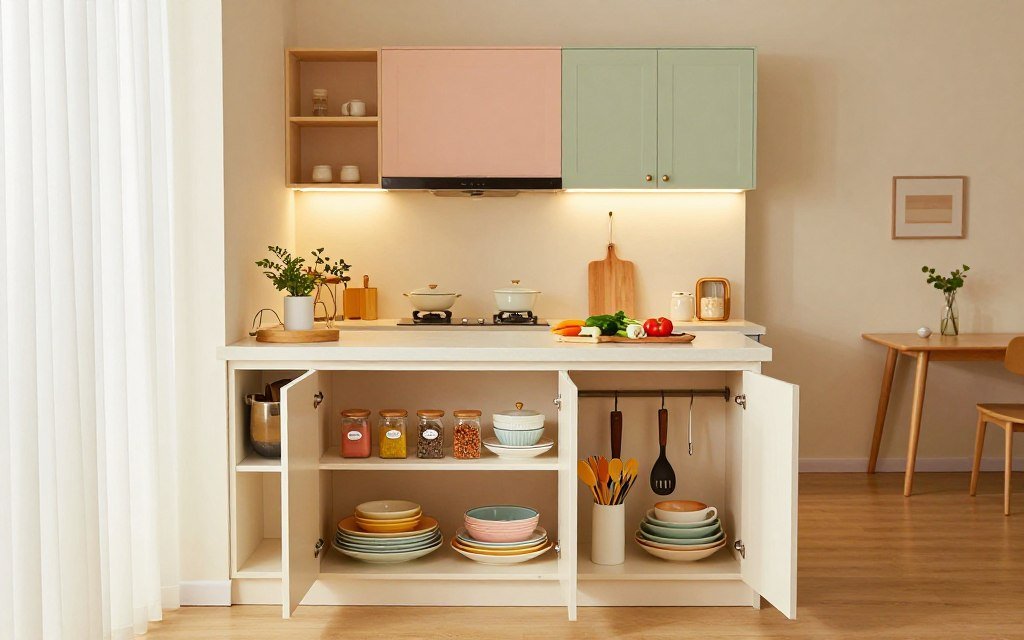
Clutter happens when items don’t have a designated address. Instead of grouping things by “type” (e.g., all bowls together), group them by task. This is how professional kitchens stay efficient.
- The Prep Zone (Near the counter/fridge): Cutting boards, mixing bowls, measuring cups, and everyday spices.
- The Cooking Zone (Near the stove): Spatulas, wooden spoons, cooking oils, and the pots/pans you use most often.
- The Cleaning Zone (Near the sink/dishwasher): Dish soap, sponges, dish towels, and everyday plates/glasses.
The 15-Inch Landing Rule: Never sacrifice the 12 to 15 inches of clear counter space on either side of your sink or stove. You need these “landing zones” for hot pans and wet dishes. If an appliance is blocking this zone, it needs to be relocated.
3: Hacking the Vertical & Hidden Space
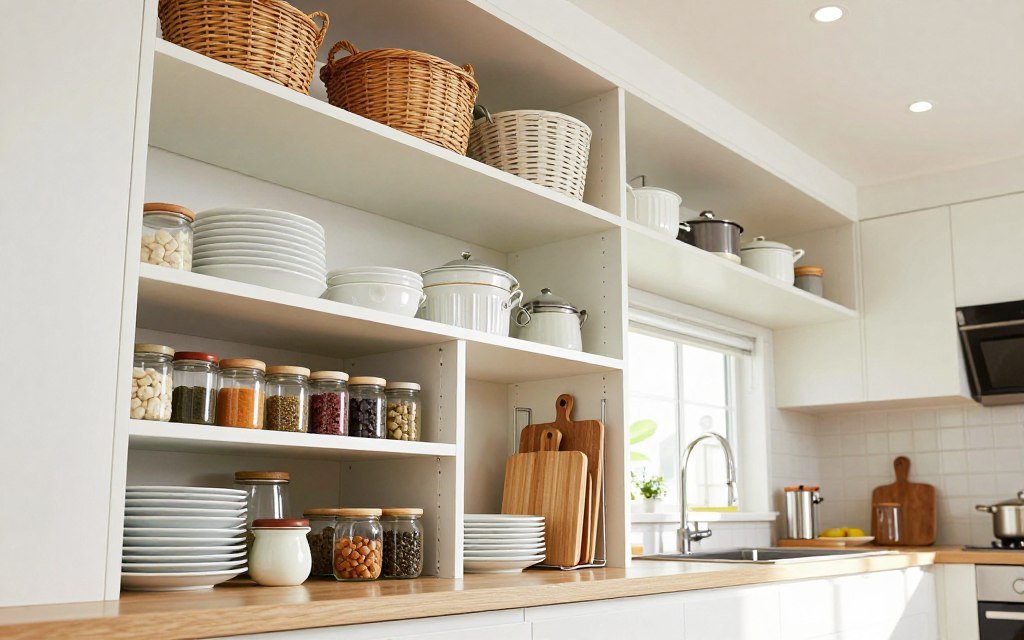
When you can’t build out, you must build up, down, and into the gaps. Floor space is a myth; we are mining for hidden capacity.
1. Mine the Inside of Your Cabinets
- Shelf Risers: These simple platforms instantly double your vertical stacking space for mugs, bowls, or canned goods.
- Under-Shelf Baskets: Clip these onto existing shelves to utilize the “dead air” space for lightweight items like tea bags, foil, or napkins.
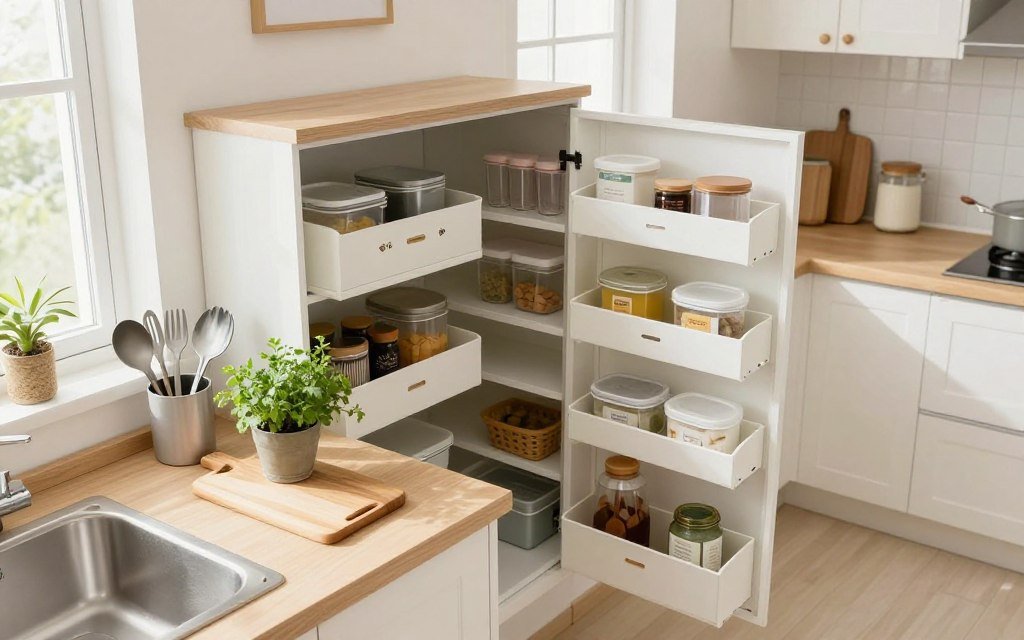
- Door-Mounted Racks: The inside of cabinet doors is prime real estate. Use slim racks for pot lids, plastic wrap, or cleaning supplies. (Crucial tip: Check your hinge weight limits so the door doesn’t sag).
2. Exploit the Walls (Renter-Friendly)
- Magnetic Knife Strips: Get bulky knife blocks off the counter. A magnetic strip keeps blades sharp, visible, and safely out of the way.
- Tension Rods: A $5 tension rod placed vertically inside a deep cabinet or under the sink is a brilliant, no-drill way to separate baking sheets, cutting boards, or hang spray bottles.
3. Tame the Deep Lower Cabinets
Deep cabinets are where items go to die. Fix this by installing pull-out sliding baskets or using clear, stackable bins. When you can pull the whole bin out, you’ll actually use what’s in the back.
4: Taming the Countertops & Drawers
Your countertops should be for working, not for permanent storage.
The “Weekly Use” Rule for Appliances
Look at every item on your counter. Ask yourself: Have I used this in the last 7 days? If the answer is no (looking at you, bread maker and bulky stand mixer), it belongs in a lower cabinet or pantry. Keep only your absolute daily drivers (like your coffee maker) on the counter.
Drawer Discipline
Stop the “junk drawer” chaos. Use adjustable drawer dividers to give every utensil a dedicated slot. For food storage containers, stop trying to nest them with their lids attached. Store the bases stacked by size in one bin, and the lids vertically in a separate, dedicated lid organizer.
Create a “Landing Tray”
For the few small items that must live on the counter (like cooking oils or your daily coffee setup), corral them onto a single, stylish tray. This contains the visual clutter and makes wiping down the counter as easy as lifting the tray, cleaning, and setting it back down.
5: The Maintenance Habit (So It Stays Organized)
A newly organized kitchen will slide back into chaos within a week if you don’t have a maintenance system.
- The “Clean-as-You-Go” Reset: Wash bowls, wipe spills, and return tools to their designated zones while the food simmers. A 2-minute reset prevents a 20-minute cleanup nightmare.
- The One-In, One-Out Rule: If you buy a new set of glasses, an old, chipped set gets donated. This prevents the slow, invisible creep of clutter.
- The 5-Minute Weekly Cabinet Check: Every Sunday, take five minutes to straighten the spice jars, align the plates, and toss any expired food. Small, consistent actions prevent massive, overwhelming cleanups.
Quick FAQ: The Small Kitchen Cheat Sheet
How do I organize a small kitchen if I’m renting and can’t drill holes?
Focus on tension and adhesive solutions. Use heavy-duty, moisture-rated adhesive hooks (like 3M Command Bath/Kitchen hooks) for lightweight items. Inside cabinets, tension rods are your best friend for separating cutting boards or hanging spray bottles. Freestanding slim rolling carts (like the IKEA Råskog) also add massive storage without a single screw.
What is the most effective way to hide small appliances?
Sort them by frequency. Daily items stay out. Weekly items go on lower, easily accessible shelves. Seasonal or monthly items (like a holiday cookie press) go to the top shelf of a pantry or a high cabinet. If you have the space, an “appliance garage” (a cabinet with a roll-up or swing-up door on the counter) is a game-changer.
How can I stop “countertop creep” (when cabinets get full and stuff migrates to the counter)?
Uniformity is your friend. Decant dry goods (pasta, rice, cereal) into square, stackable, airtight containers (like OXO Pop containers). Square containers pack tightly together, eliminating the wasted air space that round bowls create, freeing up massive amounts of cabinet room.
How do I arrange items to improve my cooking workflow?
Organize by task, not by item type. Store your skillets, spatulas, and cooking oils in the drawer or on the wall immediately next to the stove. Store your everyday plates and glasses near the dishwasher or dining area. This eliminates the annoying shuffle of carrying items across the kitchen while your hands are full.
Are there temporary ways to add prep space without a remodel?
Absolutely. An over-the-sink cutting board is the best immediate fix, turning your sink into a sturdy, secondary prep zone. A narrow, rolling kitchen cart is the second best, as it provides extra surface area and storage, and can be wheeled into a closet when not in use.