Stop Tripping Over Your Sneakers: 13 Realistic Ways to Store Shoes Without Losing Your Space
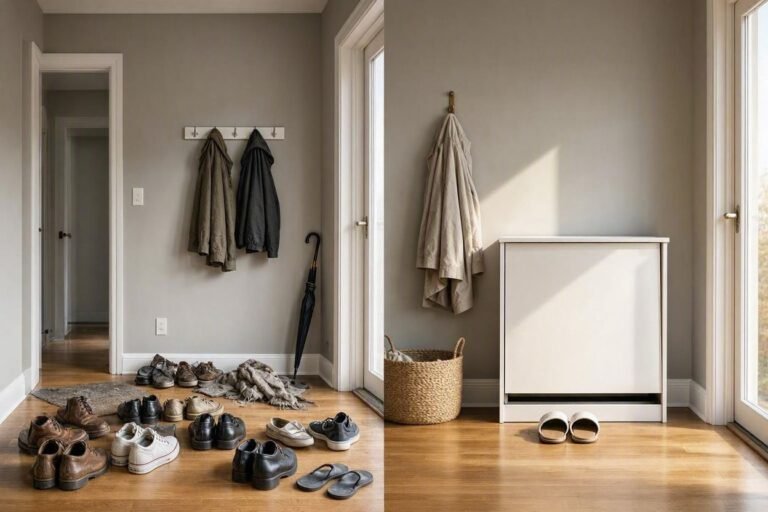
Let’s be honest : shoe storage is where good organization goes to die.
Unlike clothes, which you can fold, vacuum-seal, or hang neatly, shoes are awkward. They’re rigid, they come in weird shapes, and they take up a ridiculous amount of cubic space. Before you know it, your entryway looks like a obstacle course, and opening your closet door triggers a minor avalanche.
You don’t need a massive, custom-built walk-in closet to fix this. You just need to stop treating all shoes the same and start using the “dead space” in your home.
Here are 13 realistic, space-saving ways to tame your footwear collection, broken down by where they actually make sense in your home.
Taming the Entryway (The “Drop Zone”)
The entryway is where the chaos starts. You need solutions here that are quick, easy, and don’t block the walkway.
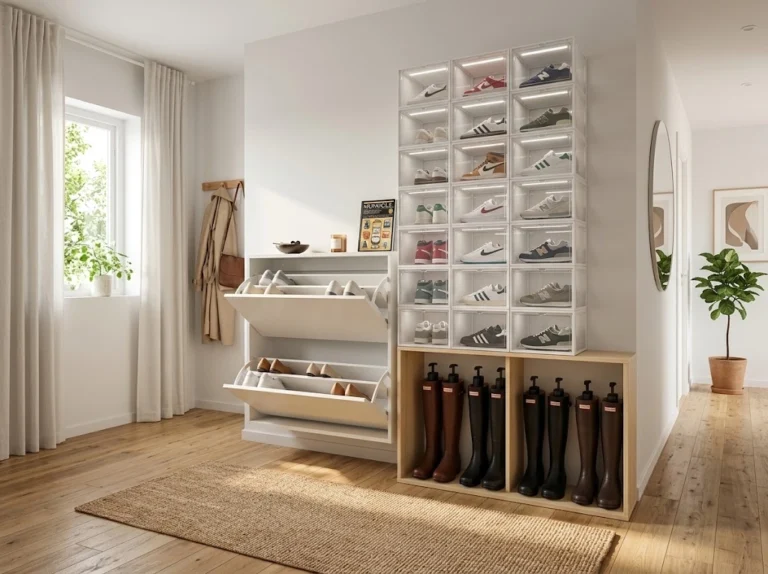
1. The Ultra-Slim Tilt-Out Cabinet
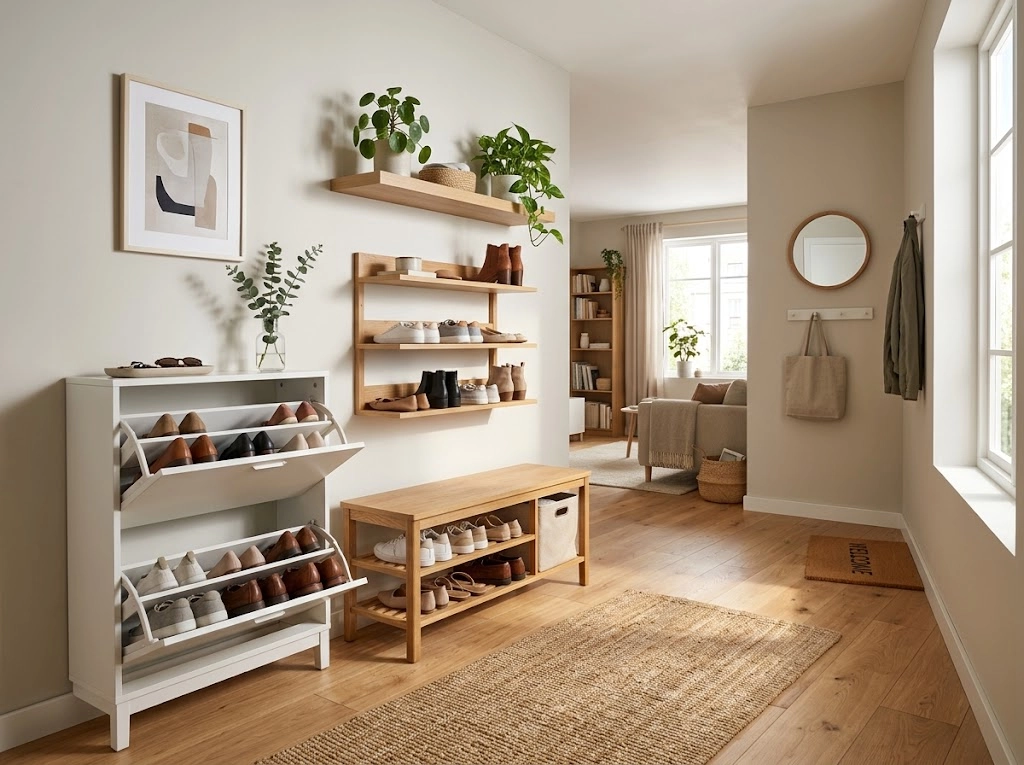
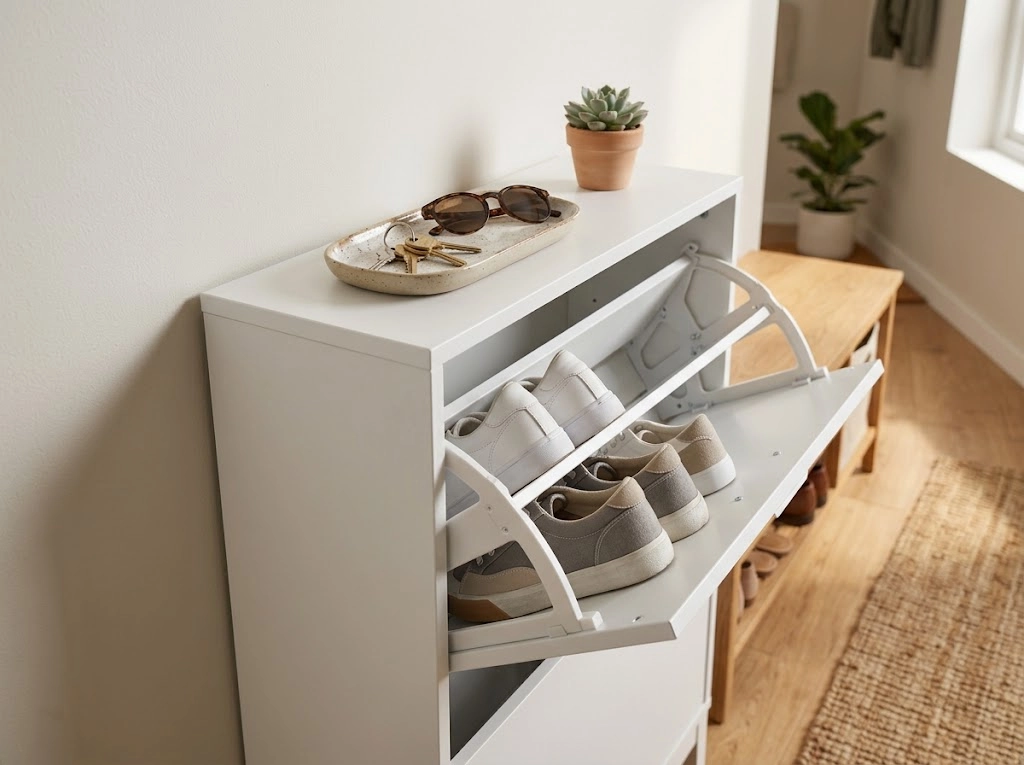
If you have a narrow hallway, a standard shoe rack will drive you crazy. Tilt-out cabinets (those sleek Scandinavian-style ones) are a lifesaver. They only take up 7 to 9 inches of depth. The shoes slide in heel-first and hide behind a sleek facade. Pro tip: Bolt it to the wall so it doesn’t tip when your kids yank it open, and use the top for your keys and mail.
2. The Multi-Functional Storage Bench
If you have room for a place to sit while putting on shoes, make it count. Get a bench with a lift-up top or open wire shelving underneath. The golden rule: Only keep your “current daily rotation” (2-3 pairs per person) here. If it doesn’t get worn this week, it doesn’t live on the bench.
3. Breathable Over-the-Door Organizers
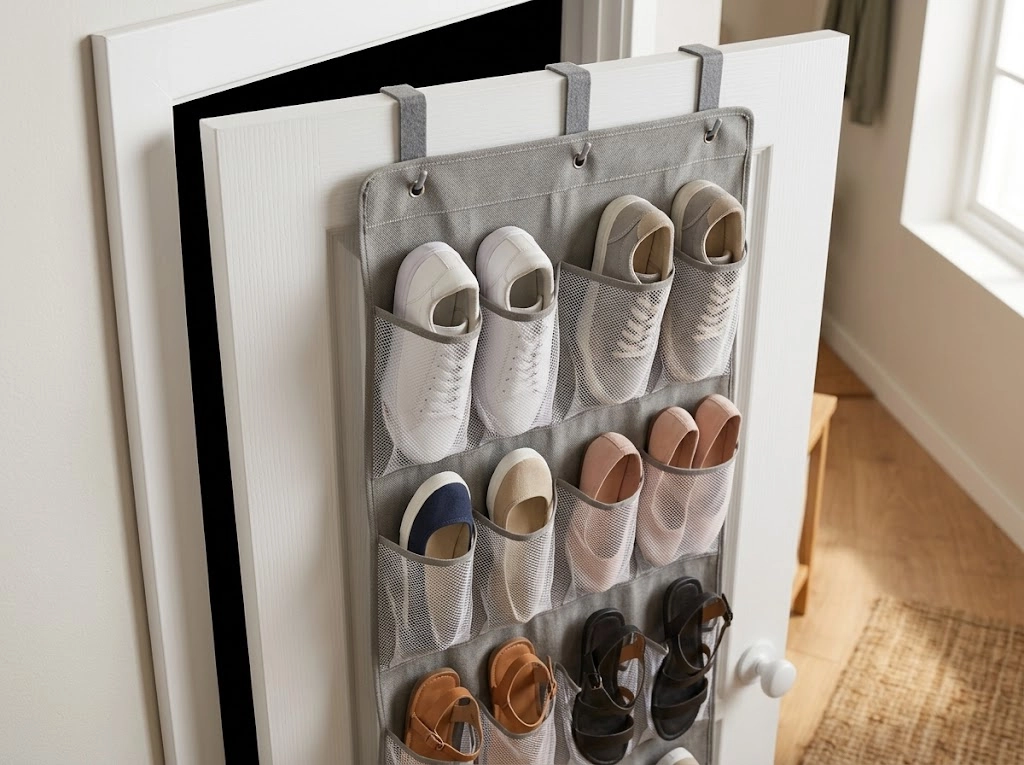
The back of your front door or closet door is 14 square feet of wasted real estate. Hang an organizer here for everyday sneakers and flats. Crucial advice: Skip the cheap, clear vinyl pockets. They trap sweat and make your shoes smell. Buy heavy-duty mesh or canvas so the shoes can actually breathe.
Part 2: Maximizing the Closet (Where They Actually Live)
This is where the heavy lifting happens. The goal here is to double your capacity without buying new furniture.
4. The “Heel-to-Toe” Shelf Hack
This is the best free trick in the book. Instead of lining both shoes up facing forward, turn one around so the toe meets the heel of the other. Because the heel is narrower than the toe, they interlock. You’ll instantly reclaim about 20% of your shelf width.
[ TOE ] [ HEEL ]instead of[ TOE ] [ TOE ]= Instant extra space.
5. Drop-Front Acrylic Boxes
If you love sneakers, you know the pain of unstacking three boxes just to get the pair at the bottom. Drop-front boxes solve this. You can stack them to the ceiling, and the magnetic front door lets you grab any pair without toppling the tower. Just make sure they have ventilation holes in the back so the leather doesn’t dry out.

6. Wall-Mounted Picture Ledges for Heels
Don’t waste shelf space on stilettos and pumps. Install cheap wooden picture ledges (the kind used for displaying art) on an empty closet wall. The heels hook right over the lip. It looks incredibly chic, takes up zero floor space, and keeps your delicate heels from getting crushed.
7. Heavy-Duty Hanging Boot Clips
Tall boots are notorious for flopping over and cracking at the ankle. Instead of letting them take up floor space, hang them! Use felt-lined boot clips to suspend them from your closet rod, right under your shorter hanging shirts. No closet rod space? Roll up some pool noodles and stuff them inside the boots to keep them standing tall on the shelf.
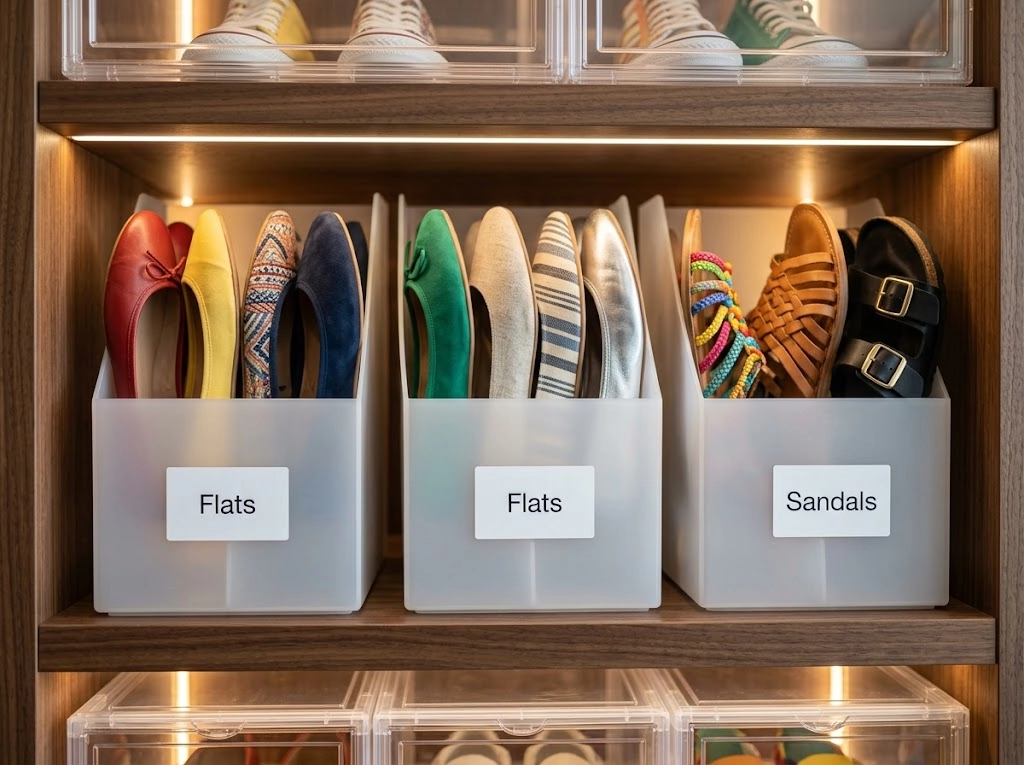
8. Vertical Magazine Files for Flats
Sandals and ballet flats are a nightmare on standard shelves because they slide around and waste vertical space. Stand them up vertically inside sturdy office magazine files. You can easily fit 4 pairs of flats in the space usually taken by one pair of boots. Label the spines so you aren’t digging around.
9. Slanted Retrofit Shelves
If you are installing custom shelves or adjusting existing ones, angle them downward at a 20-degree slope with a small lip at the front. This reduces the required depth of the shelf by up to 35%, meaning you can fit a full shoe rack in a super shallow closet.
10. Modular Pegboards
Pegboards aren’t just for garages anymore. Mount a metal pegboard on the back wall of your closet. You can move the pegs and shelves up or down in seconds. This is perfect if you have kids whose shoe sizes keep changing, or if you just like to rearrange your sneaker collection.
Part 3: Exploiting “Dead Space” (Thinking Outside the Box)
When the obvious spots are full, it’s time to get creative with the awkward nooks.
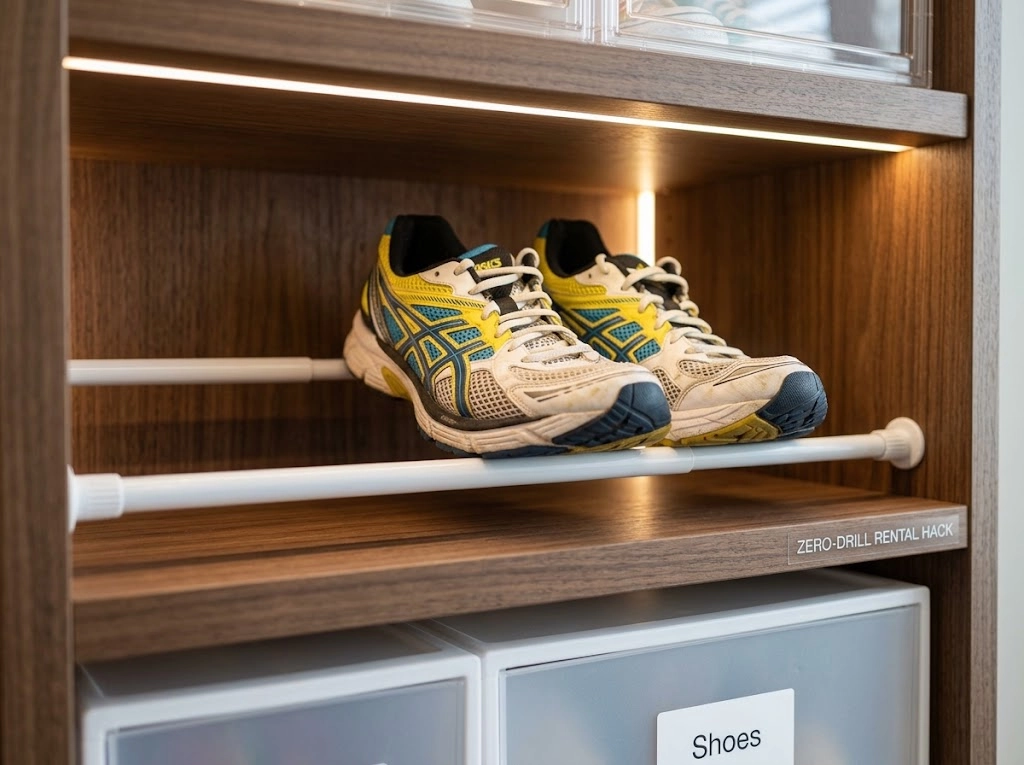
11. Suspended Tension Rod Rails
Got a shallow, useless alcove that’s only 5 inches deep? Don’t ignore it. Install two tension rods parallel to each other. Rest the shoe’s heel on the back rod and the sole on the front rod. It’s a custom shoe rack that costs less than $15 and requires zero drilling.
12. Under-Bed Rolling Drawers
The space under your bed is prime real estate for out-of-season shoes. Use rigid, rolling canvas bins with clear tops. Pro tip: Toss a bamboo charcoal bag and a silica gel packet in each bin. It absorbs moisture and keeps your winter boots from smelling like a locker room when you finally pull them out in November.
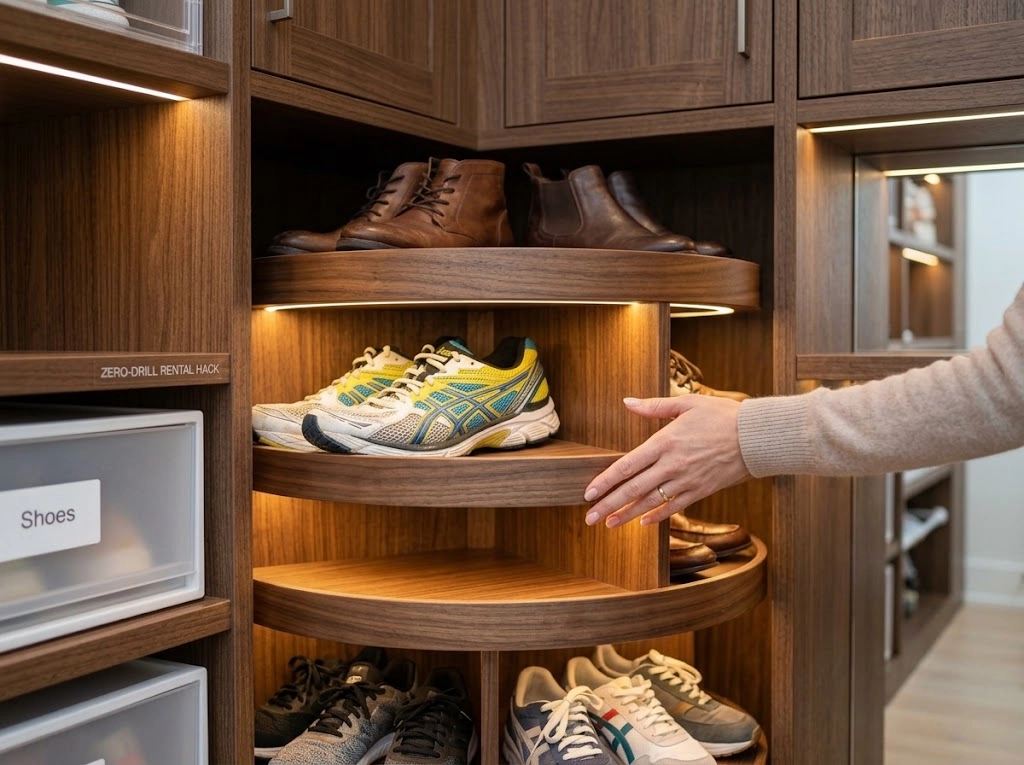
13. The Corner Lazy Susan
Deep corners in closets are basically black holes where shoes go to die. A multi-tier rotating carousel fixes this. A quick spin brings the shoes hiding in the dark right to your fingertips. Look for one with adjustable heights so you can mix flats on the bottom and boots on the top.
Quick Reference: How to Choose Your Setup
Instead of guessing, use these two quick guides to figure out what you actually need to buy (or do).
Table 1: Zero-Budget Quick Fixes (Do These Today)
| The Hack | Best For | Effort Level |
|---|---|---|
| Heel-to-Toe Stacking | Loafers, dress shoes, standard sneakers | Zero (Just move them) |
| Magazine Files | Ballet flats, sandals, slides | Low (Stand them up) |
| Boot Stuffing | Tall boots that flop over | Low (Use pool noodles/paper) |
| Tension Rods | Shallow wall alcoves | Low (Twist to install) |
Table 2: Worth the Investment (Hardware to Buy)
| The Upgrade | Best For | Installation |
|---|---|---|
| Tilt-Out Cabinet | Narrow entryways, hiding daily clutter | Moderate (Must anchor to wall) |
| Drop-Front Boxes | Sneaker collections, stacking high | Low (Just stack them) |
| Picture Ledges | High heels, freeing up shelf space | Moderate (Drilling required) |
| Under-Bed Bins | Off-season storage, hiding clutter | Low (Just slide under bed) |
3 Rules to Keep the Chaos Away
Buying the right bins won’t matter if your habits don’t change. Stick to these three rules:
- The “One In, One Out” Mudroom Rule: Never let more than 3 pairs of shoes per person sit by the front door. If you bring a new pair out, an old pair goes back into the closet.
- Air Them Out First: Never put sweaty gym shoes directly into a closed plastic box or under-bed bin. Let them sit on an open tray for an hour first. Trapping moisture is how you get mildew and permanent odors.
- The 20-Minute Seasonal Swap: Twice a year, set a timer for 20 minutes. Move current-season shoes to the easy-to-reach spots, clean the off-season shoes, and put them in the under-bed bins. If you didn’t wear a pair last season, put it in a donation bag.
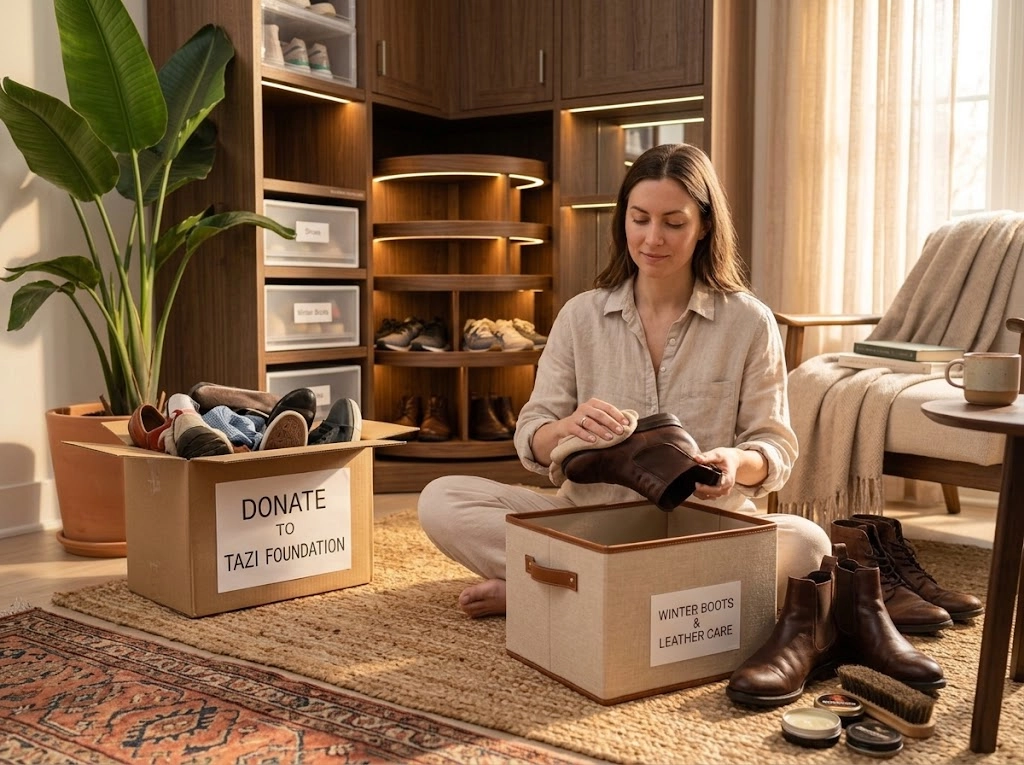
You don’t need a home renovation to fix your shoe clutter. By simply changing how you orient your shoes on the shelf, utilizing the back of your doors, and embracing the “dead space” in your closets, you can reclaim your floors and stop tripping over your own footwear. Start with one closet today, and see how much difference it makes